


Get to grips with GNU Screen
GNU Screen is a terminal multiplexer, a program that manages terminal windows. It’s been around for 28 years, which makes it older than Perl 5. So if you thought Perl had some archaic conventions, you ain’t seen nothing yet. But despite it’s age Screen is a powerful tool for managing terminals; if you often find yourself using more than one terminal, you owe it to yourself to start using a multiplexer for major productivity gains. Screen is the most widely used multiplexer, another popular option is tmux, but this article is about Screen.
Getting started
Start Screen by simply typing screen at the command line:
$ screenAll commands in Screen start with the prefix Control + a. The first command to learn is the most important; how to display the commands menu! To do this type Control + a, ? (that is, press Control and the “A” key, release the keys and then type question mark). If you remember this one command, you can always get yourself out of trouble, even if you forget some of the other commands.
Managing windows
To open a new terminal window, type Control + a, c. Screen will create a new window - this is a new terminal process. To see a list of open windows, type Control + a, ". You can press up and down to highlight the window you want to use, and press enter to open it.
You can also cycle through windows, by pressing Control + a, n to move to the next window and Control + a, p to move to the previous one. Every window is assigned a number, and you can jump straight to a window with: Control + a, # where the pound key is the number window to jump to.
Finally if you want to kill a window type Control + a, k. To kill all windows and exit screen the combination is: Control + a, \
Split Screen
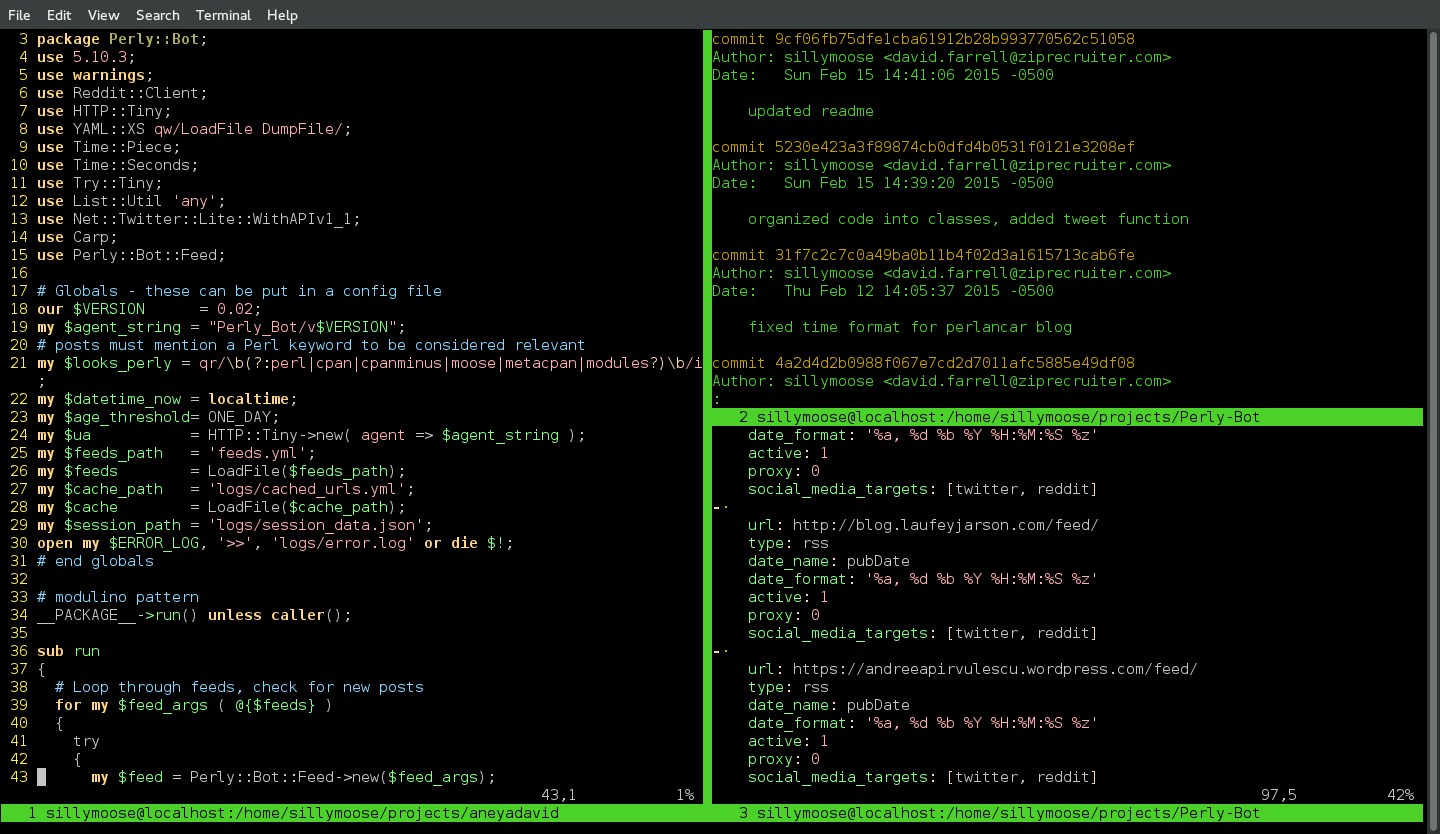
Screen can split the terminal window into multiple windows. This is really helpful if you need to look at multiple terminals simultaneously. Any window can be split vertically or horizontally and multiple times, leading to all kinds of combinations. To vertically split the screen type: Control + a, | and to horizontally split type: Control + a, S.
To highlight the next split window, type Control + a, tab (there’s also a config option to select by mouse click, more on that later). The combination Control + a, Q. will quit split screen mode.
Copy and paste
Copying and pasting with Screen isn’t super easy. So much so that I often found myself using the terminal copy and paste instead (highlight with mouse, then Control + C, Control + V). However it’s useful to know Screen’s copy and paste because terminal copy and paste just crumbles on split screen mode, and you may want to use the mouse select for something more useful anyway.
Copy and paste is modal, so you first have to enter “copy mode”. To do that type Control + a, [. Now move the cursor to the beginning of the text you want to copy. Press space to mark it and use the arrow keys (or h, j, k, l) to move the cursor to the end of the text you want to copy. Pressing space again will copy the highlighted text. To paste, type Control + a, ]. Ew.
Scrolling
By default Screen prevents scrolling using the X-Window scrollbar (it also doesn’t keep much history). This can be get very annoying, so you’ll want to know how to scroll. To do so, you need to enter copy mode with Control + a, [. and then press Control + u to scroll up and Control + d to go down. Press escape to exit copy mode. And until you can remember the combinations for scrolling, you’ll find yourself piping output to less more than you ever imagined.
Detaching Screen Sessions
Screen sessions can be put into the background just like any other terminal process. Screen will keep open any terminal processes (like ssh sessions). This is very useful - if you find yourself working with more than 5 or 6 windows, it might be easier to detach and start a new screen session than adding more windows. To detach screen, the combination is Control + a, d. When you detach, screen will print the session name and return to the terminal prompt. To re-attach to a detached session just use screen -r:
$ screen -rIf you have more than one screen session, you can display all detached sessions with -ls:
$ screen -ls
There are screens on:
    30549.pts-1.localhost   (Detached)
    30498.pts-1.localhost   (Detached)
    29207.pts-1.localhost   (Detached)
3 Sockets in /var/run/screen/S-sillymoose.
Then just re-attach to the session you want by providing the session name as an option to -r
$ screen -r 29207But if you’ve really got multiple Screen sessions going, it can be hard to remember what they’re all doing. So when you start Screen, use the -S option to give the session a name:
$ screen -S aws_ec2If you name all your sessions, it’s much easier to know which one to re-attach to:
$ screen -ls
There are screens on:
    31155.aws_ec2   (Detached)
    30866.email_servers (Detached)
    30815.ecommerce_app (Detached)
3 Sockets in /var/run/screen/S-sillymoose.

$ screen -r email_servers
Customizing Screen
Screen is highly configurable which is good because you’ll probably want to change a few of the default options. The first option you should consider isn’t a Screen option at all however.
To stop your ssh sessions from timing out, add the following to your ~/.ssh/config file:
# dont timeout connections
ServerAliveInternal 600
If the ~/.ssh/config file didn’t already exist, you may have to change the permissions on the file:
$ chmod 644 ~/.ssh/configThis option will have ssh send a byte every 10 minutes to the remote server to keep the session alive. You may want to change the frequency depending on your needs. Now you can have multiple ssh windows within screen, detach them for hours and return and you’ll still be logged in.
Like many other terminal programs, screen will look for a runcom config file (~/.screenrc). I like the following options:
# no welcome message
startup_message off

# keep running processes on detach
autodetach on

# start windows at 1 instead of 0
bind c screen 1
bind ^c screen 1
bind 0 select 10
screen 1

# large scrollback buffer
defscrollback 5000

# on split screen, switch window focus by clicking
mousetrack on

# refresh screen after closing a program
altscreen on
There are loads more options to choose from. Screen has a huge online manual and it’s terminal man page is comprehensive too. Any typed command listed in the manual can be run from within screen, or added to the ~/.screenrc file. For instance if you don’t like Screen’s default key bindings, checkout the bindkey command for overriding them, as you don’t want to be typing them for another 28 years.
Screen Cheatsheet
# Type before other commands
Prefix: Control + a

Shortcuts menu: ?

New window:    c      Split Vertical:   |       Copy mode:     [
Close window:  k      Split Horizontal: S       Start copy:    space
Next window:   n      Focus next region: tab    Scroll up:     u
Prior window:  p      Quit split screem: Q      Scroll down:   d
Jump window #: 0-9                              End copy:      space
List windows:  "                                Paste:         ]
                                                End copy mode: escape

Detach: d
Quit:   \

# Terminal commands
Launch Screen:     screen
Named session:     screen -S <name>
List sessions:     screen -ls
Re-attach session: screen -r [name]
This article was originally posted on PerlTricks.com.
Tags
David Farrell
David is a professional programmer who regularly tweets and blogs about code and the art of programming.
Browse their articles
Feedback
Something wrong with this article? Help us out by opening an issue or pull request on GitHub
