


The Rock Pi S Review
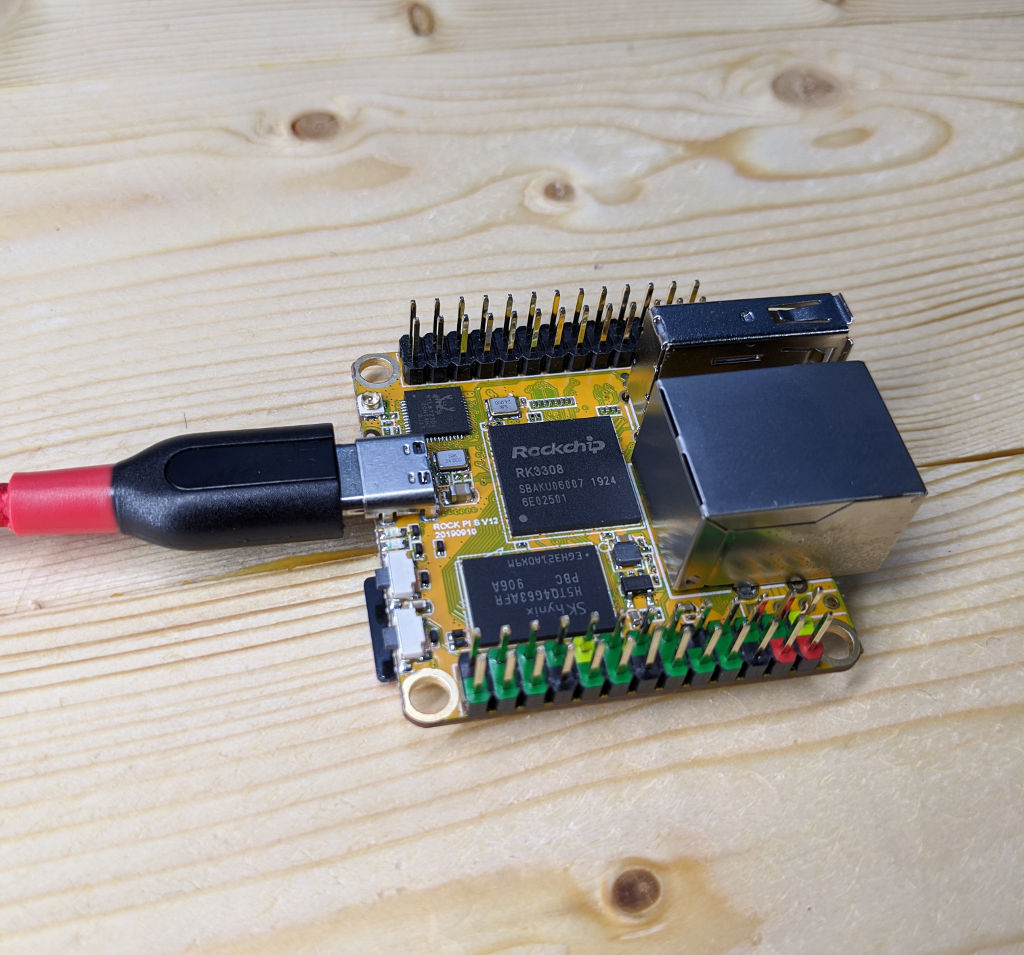
When writing articles like these, there is an inevitable comparison to the Raspberry Pi series. There is no way to fight this, and for good reason. The first Raspberry Pi ushered in a slew of Single Board Computers (SBCs), and one of them is the Rock Pi S, a new board from Seeed Studio.
In the interest of full disclosure, the Rock Pi S was provided by Seeed Studio for this review. Specifically, it’s the model with 512MB of RAM and 4Gb of built-in flash.
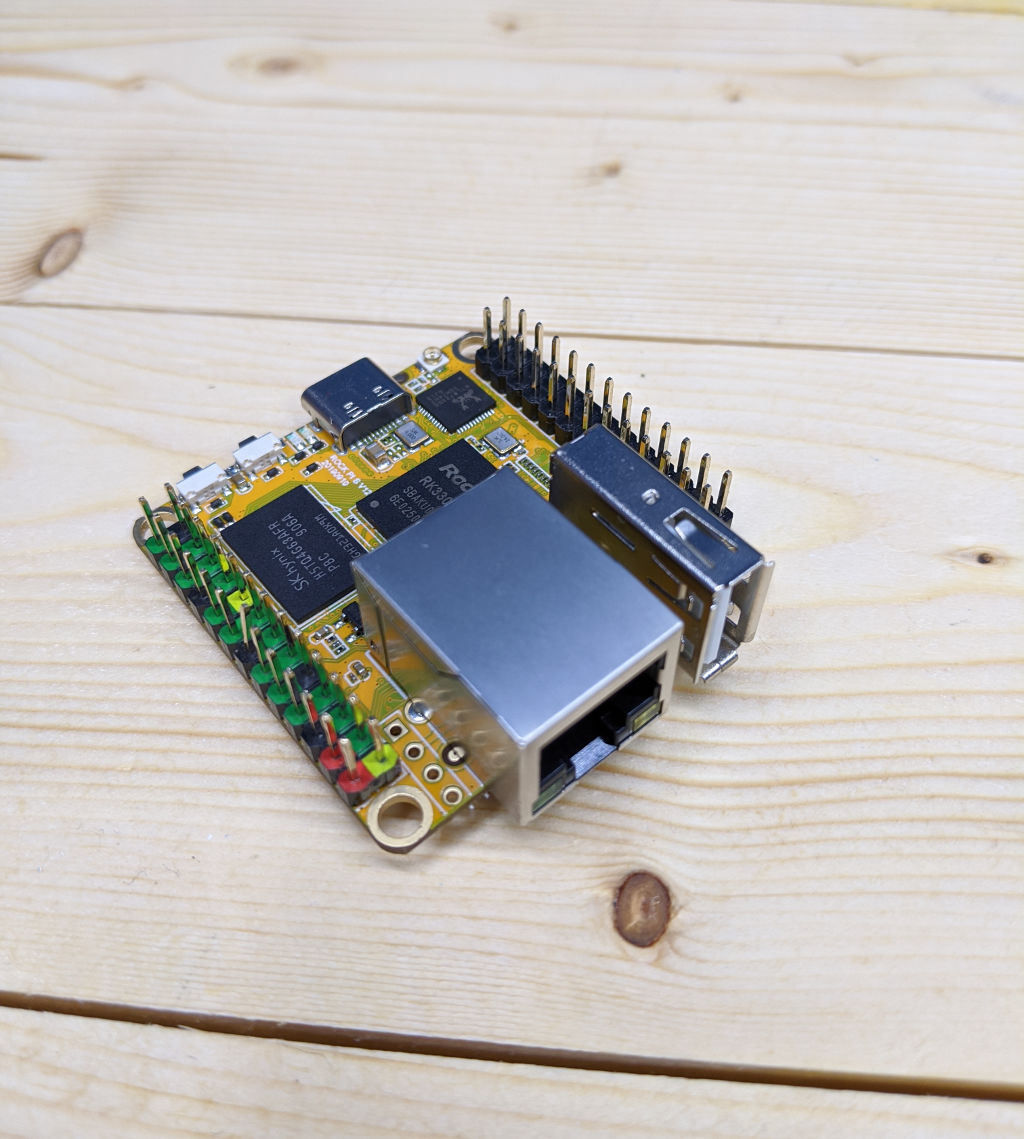
The Rock Pi S competes in the same segment as the Raspberry Pi Zero, particularly the Zero W with built-in WiFi. Its form factor is different; where the Zero is shaped like a stick of gum, the Rock Pi S is closer to a square. The Rock also has USB-C for power, an ethernet jack, and a USB-A port. Depending on the project, it can end up being cheaper than the Zero, since you don’t have to buy a micro-USB to USB-A adapter to hook up most other devices.
You do still need a micro SD card. While there are versions of the Rock with built-in flash, it’s small and not meant for booting an OS. Note that the size of the built-in flash is listed in gigabits. The 4Gb version is actually 512 megabytes. So get an SD card.
Which leaves us the question of which SD card. Some people automatically reach for a class 10 or UHS-I card, since those have the highest performance on the box. Trouble is, the traditional class ratings on SD cards only tell you the sequential read and write performance. That’s fine for cameras, but running an operating system means lots of random reads. Testing often showed that a good class 4 card was better than a lot of the class 10 cards out there.
These days, we don’t have to worry about that, because the SD Association came up with the Application Performance Classes of A1 and A2. These set a minimum of random IO operations per second, which is just what we want. So get an A1 card and you’ll be happy with the results.
The big thing in the Rock’s favor is a quad core ARM processor. While it’s not going to set any Bitcoin mining records, I’ve found multicore processors are handy for hardware projects. On a single core processor running Linux, your program can get interrupted by something else at any time. This means that a program running on a mere 16MHz Arduino may run better than a 1GHz Raspberry Pi. A quad core processor mitigates this, since secondary programs have 3 other cores to work with.
The Rock is powered over its USB-C port. I found attaching it to a
laptop USB port provided enough power to get going. This is also handy because
you can run adb shell to connect to the Rock’s OS. “ADB” is the
Android Debug Bridge, and while the Rock does support running Android, I used
a Ubuntu Bionic image. Yes, adb did still work with Ubuntu installed. This is great for
headless installs, since you won’t have networking available at first boot.
Since it’s running Ubuntu, we have perl from the start:
$ perl -v:

This is perl 5, version 26, subversion 1 (v5.26.1) built for aarch64-linux-gnu-thread-multi
(with 67 registered patches, see perl -V for more detail)
...
What you won’t have is an equivalent to RPi::WiringPi to control GPIO (“General Purpose Input/Output”). GPIO is the most basic building block for hardware programming. We’re either controlling the output voltage to cause something to happen, like blinking an LED, or we’re taking input to see if something happened, like hitting a switch. It’s simple, but very useful. Tons of hardware projects come down to just seeing if something is on, or turning something on.
What we lack is a library to do that on the Rock Pi S. That’s OK, because it’s Linux, and Linux provides a simple sysfs interface to access GPIO pins. As long as there’s a GPIO driver for the board, you can control the pins.
The Rock has two headers, one of which is color coded and has the main pins you want to work with in most projects. Note that there are a few variations of the pinout depending on the version of the board you get. The version should be printed on the board (I received a V12 board), so make sure you’re looking at the right pinout for your board. See the GPIO header documentation.
One thing to keep in mind is that the pins are specified as 3.3V input. That means you don’t want to put 5V into them. Feeding it 5V might cause glitches, or could break the board completely.
To get at the pins, we can use the Linux sysfs interface.
You will note a big fat deprecation warning at the top. The new way to do it
is with gpio-cdev, which requires some ioctl() calls. Since this is
more difficult to handle–it requires importing some constants from the
kernel headers, instead of just accessing files–we’ll stick with the sysfs
interface for now. That said, if someone would like to make a CPAN module
that provides those kernel symbols (and maybe the ones for I2C and SPI, as
well), I would welcome that.
Here’s what we need to do:
- Make the pin accessible by writing the pin number to
/sys/class/gpio/export - Set the pin as an input pin by writing “in” to
/sys/class/gpioN/direction(where N is the pin number) - Read the current value from
/sys/class/gpioN/value - Since pullups are active, a pin not connected to anything will output a 1, and connecting it to ground will give you a 0
You can connect a wire from a ground pin to the pin you select, and the value output should go from 1 to 0.
You may be wondering why this is backwards; don’t you want to see a 1 when something is connected? The reason is pullup resistors. If a pin is disconnected, it will tend to “float”, picking up interference from the electronics around it. That results in getting random 0’s and 1’s. If you instead connect a resistor tied to high voltage, 1 is what you consistently get on the pin. If you then connect that pin to ground, it will see a 0 instead. We just have to remember that the whole thing is backwards from what we normally expect–1 for disconnected, 0 for connected.
The full program is at the end of the article. The export_pin and set_input
functions both take a pin number and ask the kernel to export it for
use or set it as input (respectively). The read_pin function takes a pin
and returns its current value (either 1 or 0). The write_pin function is
just a helper function for doing the file IO for other functions.
At the very bottom is the code to wrap all this together. We export the pin
passed in from the command line, set it as input, and then read the pin in a
loop. By outputting “\r”, the previously printed value is overwritten in the
terminal, rather than having one long string of values. Since we’re using
the Time::HiRes version of sleep, we can use
seconds in floating point to slow the output down without being too slow.
I’ve been waiting for a board like this for a while, packing in a multicore processor, networking, a full sized USB jack, and running on Linux in a sub $20 price range. This might be a new favorite.
#!perl
use v5.26;
use warnings;
use Time::HiRes 'sleep';

use constant BASE_PATH => '/sys/class/gpio';
use constant SLEEP_TIME => 0.1;


my $GPIO = shift or usage();
$GPIO =~ /\A\d+\z/ or usage();


sub set_input
{
    my ($pin) = @_;
    return write_pin( '/gpio' . $pin . '/direction', "in" );
}

sub export_pin
{
    my ($pin) = @_;
    return write_pin( '/export', $pin );
}

sub read_pin
{
    my ($pin) = @_;
    my $full_path = BASE_PATH . '/gpio' . $pin . '/value';
    open( my $in, '<', $full_path )
        or die "Can't read from $full_path: $!\n";

    my $data = '';
    while( my $line = <$in> ) {
        $data .= $line;
    }

    close( $in );
    return $data;
}

sub write_pin
{
    my ($path, $data) = @_;
    my $full_path = BASE_PATH . $path;
    open( my $out, '>', $full_path )
        or die "Can't write to $full_path: $!\n";
    print $out "$data";
    close $out;
    return;
}

sub usage
{
    die "Usage: rockpi_gpio.pl <pin number>\n";
}


export_pin( $GPIO );
set_input( $GPIO );
$| = 1; # Autoflush output
while( 1 ) {
    my $in = read_pin( $GPIO );
    chomp $in;
    print "$in\r";
    sleep SLEEP_TIME;
}
Tags
Timm Murray
Timm Murray is a Perl programmer and hardware specialist. He is the creator of UAV::Pilot the de-facto standard Perl drone library. He regularly blogs about Perl and hardware hacking.
Browse their articles
Feedback
Something wrong with this article? Help us out by opening an issue or pull request on GitHub
